Inspiration- Barbara Hepworth and Ben Nicholson

After a tutorials with both Pete and Natasha (25th Feb), they both suggested I looked at Barbara Hepworth’s and Ben Nicholson’s work…

1934 (relief) 1934 by Ben Nicholson OM 1894-1982

1934 (relief) 1934 Ben Nicholson OM 1894-1982 Purchased 1978 http://www.tate.org.uk/art/work/T02314

1936 (white relief sculpture - version 1) 1936 by Ben Nicholson OM 1894-1982

1936 (white relief sculpture – version 1) 1936 Ben Nicholson OM 1894-1982 Purchased 1997 http://www.tate.org.uk/art/work/T07274

Ben Nicholson’s earlier work involved still life paintings and then in the twenties he began to create abstract and figurative paintings. These were inspired by the cubist movement and post impressionism.

The latter was a movement which followed on from impressionism; Obviously the fist artist which comes to mind when I think of impressionism if of course, Monet. The whole idea of this movement was to paint one’s impression of what one saw with short brush strokes of broken colour. Monet’s paintings do really capture the light of the moment and the colours it bought out, and the reflections too! Post Impressionism also focused on opticality, but the topic of the paintings could have been about emotions or memories, not purely the observed world.

Cubism was considered to be the first form of abstract art, meaning that it was more subjective than objective. The idea was that instead of observing the subject of painting from one view point, it was looked at from several perspectives. one important factor which distinguishes this movement from others is that artists would represent what the mind imagined, not what the eyes saw. This often evolved lots of simple shapes, such as squares and circles, a recurring motif in a lot of Nicholson’s work.

The work I’m particularly drawn to by Nicholson are his abstract reliefs of geometric shapes. These are completely non-objective. But what do they bring to the observer? White Relief is one of Nicholson’s two known scultures. Interestingly he made this whilst he was sharing a studio with Hepworth (who he was married to in the years  1938-1951) . No doubt her sculptures had an influence on his artwork during that period.

Three Forms 1935 by Dame Barbara Hepworth 1903-1975

Three Forms 1935 Dame Barbara Hepworth 1903-1975 Presented by Mr and Mrs J.R. Marcus Brumwell 1964 http://www.tate.org.uk/art/work/T00696

A graduate of Sculpture from Leeds School of Art, Hepworth pursued an abstract path, honing in on the very materiality of the sculpture and the space around it; working with a range of materials from wood to marble. With influences from Constructivism ; Hepworth’s art is all about the composition of the elements of her sculptures harmonising straight lines with spherical shapes. A brilliant example was when admiring her work at the Tate Modern, particularly “Ball, Plane and Hole” in which a wooden ball is placed just near a circle cut out of a piece of wood, as if it is going to be pushed through, oh how I wanted to touch it! It kind of reminded me of a racket and ball, as the ball is also placed on a narrow chunk of wood. Her work is very satisfying to look at and has a peaceful affect on the viewer. Interestingly, she was commissioned to create a sculpture symbolising peace for the United Nations in 1961.

Ball, Plane and Hole 1936 by Dame Barbara Hepworth 1903-1975

Ball, Plane and Hole 1936 Dame Barbara Hepworth 1903-1975 Purchased 1982 http://www.tate.org.uk/art/work/T03399

BH-325-P

Single Form at the United Nations Secretariat, 11 June 1964 barbarahepworth.org.uk


The Plaster Room

It’s rather funny as I didn’t think I’d ever do lathe turning again; after having an induction last year and ruling it out… However, I am now going to be doing it again!

Basically I’m making a cylinder to represent a mug, and at first I initially thought I could throw this shape… But, to get a more pristine shape Caroline (one of the technical demonstrators for plaster) suggested I made one using the lather turner. This was after I showed her a drawing representing an imagined outcome.

IMG_1135

This stemmed from what I was exploring before we began our field project, inspired by the Jacobsen chairs at the Ken Stradling collection.

The notion of what one leaves behind when they sit in a chair; the connection of object and body. Then this transitioned to the connection one has with a mug and how they hold it. Do they place their hand on the handle or hold it at the bottom. or just hug their hands around it. I know I like to wrap my hands around a cup of tea to warm them up!

This led to the idea of making to separate entities: a cylinder shape representing the mug and a linear sort of shape to represent ones hand. They then join together to make one piece; rather than being two individual items.


Reflecting on our field module

Creating the terracotta puzzle centre piece and spoons as part of the interior design group project ‘Fo[u]r Rooms’ was a significant point in my ceramics journey, I learnt a lot about what I like and how I work best…

This project taught me that I work more efficiently when I have a brief to stick to and a deadline looming. Also when I have a team relying on me, if I don’t pull my own weight, I’m not just letting myself down, but the whole team. Also how essential it is to plan things in advance and managing your time to ensure everything is done in time for presentations, installations and meetings, not just for ‘hand in”. Moreover, I think because we didn’t just draft a concept and pitch it to our field group lecturers, we felt a greater sense of satisfaction in our work… We actually made everything and put it in a real space, where people actually worked! We all improved our presentation skills too which of course will be a useful asset in whatever job sector we end up working in after we graduate.

I want to carry on to develop my skills in slab construction and slip casting. I know now that I thrive in making angular objects, things with straight lines, things that fit together with each other. Maybe it’s the smoothness I find satisfying, or it’s because I’m a bit of a perfectionist. But then, I like mixing things up by scratching into a would’ve been smooth surface, adding digital images or sponging on slip to a perfect cube to achieve a very tactile finish.

Our Machine Aesthetic Room- Fo[u]r Rooms

The interior components of this room were designed and made to showcase aspects of a minimalistic industrial workspace interior. Through use of materials with machine influences aesthetics i.e. metal, and materials associated and constantly used in industry, wood and ceramic, to create a comfortably rustic working office interior space.

IMG_8958

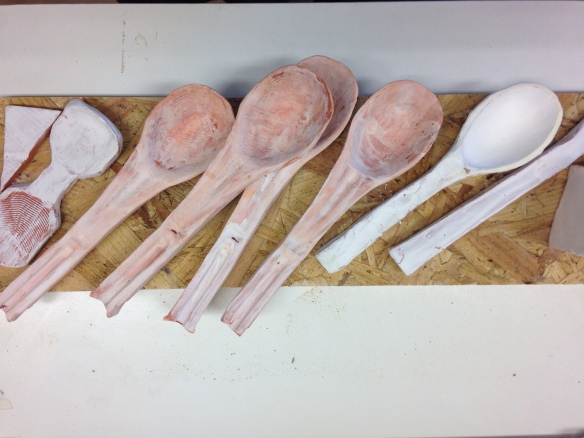
Our room brings to light the purpose of this building- the power of making and how machines are an important element in our art school, in our making process, in design. Connor did a fab job completing the table. It isn’t too big that it consumes the space- wheelchairs will be able to go around it. Scaffolding wood seemed like the appropriate material to make the table with as one- it was cheaper to obtain, and two, it had a rustic, machiney feel to it as it has already been used to make a building (coming from Bristol, Fintan’s brother owned a construction company), people and machines have been on these pieces of scaffholding; they have a story, and that story is now being revived in this room. As with the shelving: made of cable ladder, it was shipped over from a factory Emma worked at in Belfast. Paired with the wooden shelves, they really do show off Cameron’s stoneware cups -influenced by the shape of chimneys; referencing to the bottle-top chimneys at the Stoke-On-Trent potteries- paired with my white earthenware spoons, with imprints of nuts and bolts, the texture lending to the user experience when one handles the spoons.

IMG_8930


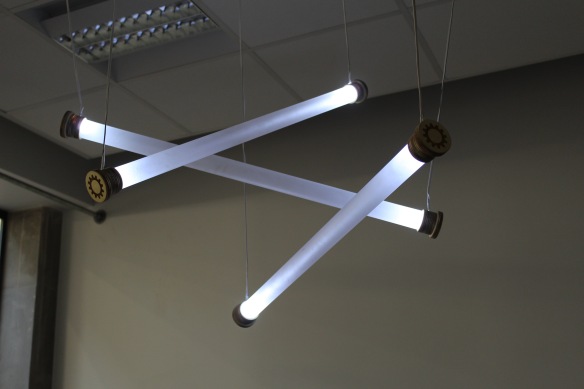
And then there’s my terracotta centre piece… reflecting back on Cardiff’s industrial past- the terracotta referencing to the red bricks of Cardiff Bay’s Pierhead building- and decal images shedding light on the machinery used to make the very objects in this room, and of course its complete with stenciled cogs on the surface, these stencils coming from Emma’s laser cuts which she used to end her LED tube lighting with; details have been bought together.

IMG_8927


IMG_8944

The positioning of the rail enables the shelving to obviously be moved and the pole they’re attached to is far enough away from the window that people can walk around the shelf, admiring the artwork on them, and also for the people on the 1st floor to look at this marvellous feature of the room from a distance too.

Not forgetting Laura’s cushions decorated with digitally printed cog designs, some she drew and scanned in, others she created on the computer. These are not only visually appealing- being a cream colour they contract well with our metal seating and stained table, matching nicely to the pale elements of my centre piece and spoons- various people have said how comfortable it is having the cushions on the chairs. I feel this softens up the would be hard- rustic interior of our room, therefore retaining a balance.


Jon and April made a wall piece featuring our logo, using a rusted sheet of steel metal. The metal compliments the features of the furniture especially the scaffolding wood.

Last but not least is the oak wood coffee table, Jon found this wood and thought it would be silly not to put this great piece of wood to good use; which, conveniently fits underneath the monitor, doubling up as a laptop table. And Connor’s coat hooks: nuts and door locks which have been screwed into a section of wood. Something so simple and pleasing, yet it’s serves a function.

Fo[u]r Rooms Project Hand In

So that’s it! Our Room is finished! All that stress over!

Although it was a group of 9 it was Cameron, Connor, Emma, Laura and myself that saw this project through from start to end, and we are so happy that we managed to install the room by 12 am (the deadline) last night! You should have seen us get the shelving up the stairs- that’s right, we had to go up 2 flights of stairs, as it wouldn’t fit in the lift!

Connor had a few hiccups with the table, it was very wobbly, a drunken table. But thankfully, Richard came to our rescue and he helped Connor sort it. Then Emma, bless her, took about 3 hours fixing the lighting- she had a few complications with the wiring, but after hours reaching and balancing on the ladder she did it!

Laura’s cushions look fab against the metal chairs (which we managed to borrow from the Student’s Union) and Cameron and my Ceramic objects- a mixture of terracotta and white st thomas clay- look great on the stained wood, the textures complimenting each other well. And Emma’s shelving… We’ve had so many comments on how great it looks in the room! Richard mentioned about keeping it there permanently too!!!

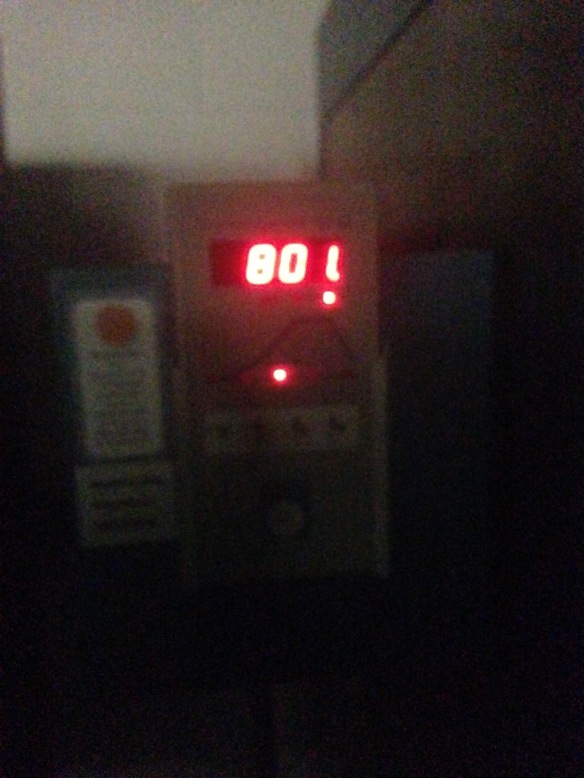
So am I pleased with how today went?… Kind of, I will be very happy on Friday once everything I’ve made is in the room- completedI still have to wait for my two pieces from my table piece to come out of the kiln. I checked the kiln temp today and it was at 263 degrees at 10 am… which means I probably can’t crack the kiln (open the door ever so slightly) until later this afternoon. Our presentation went well ,we all managed to talk about our work, and explain sources of inspiration and our journey of the making process, this was through talking about it and through a little video I made of us.

One thing the lecturers did say is that we’ve got to be more positive about our work, and say things with conviction. Like, okay, not everything went according to plan: such as one of the walls in our room. one of them is particularly bare… but that was do to certain people in our group not turning up and pulling their weight, which meant that the resulting wall piece didn’t look great. However, we kept positive as we spoke to Cardiff University students afterwards; they interviewed us and took pictures of our work for a new interior design magazine which they’re currently working on! Our work is going to be in a magazine!

Fo[u]r Rooms Glaze Firing

Well I am stressed now. This is the last week of field and there’s lots of things to do before hand in on Thursday. I am stressed because I wasn’t able to fire all my things together in one kiln. One group of things is currently in a toplaoder (which is a lot smaller than I originally thought) and the other I’ve just loaded in one of the larger kilns. This is a glaze firing and I am hoping my objects all come out in one piece. I have spoken to Richard and explained the delay and he said it’s fine, I can put the finished piece in the room on Monday.

IMG_1051

Display board showing my Final Designs. One of the pieces will be the other way round, a compartment to hold the spoons!

IMG_1050

How I’ve imagined the room will look when we install it on Wednesday 10th Feb

I think it’s the most I’ve ever used a kiln in the space of a week: I did a bisque on Thursday, and put on a glaze firing yesterday and today! Finally getting to grips with it and not getting as scared doing them. I think the hardest bit is getting enough things together to put into the big kilns, so it’s not a waste of energy just firing half a loaded kiln etc. Kilns use lots of energy as they require so much heat- a decal fire is around 840 degrees and that’s the lowest firing I’ll do! That will be the next step. On Friday (yes I’m running behind schedule- everything is supposed to be done for Thursday morning), on Friday I have to apply my decals -after collecting them from the post office- an then put them in the kiln to bond the pictures to the glazed surface. I’m excited as I haven’t worked with decals before.

To add the cog design, I used Emma’s laser cuts- the same pattern she’s putting on her tube lighting. The decals will then be placed within the lines.

IMG_1061

Applying the decals on Friday 12th Feb

These are the pictures I’ve sourced from our group to apply to the centre piece! For the first time ever, I had to resize the images and make sure the resolution was correct and then send them off to Digital Ceramics, a decal company based in Stoke-on-Trent. So I guess I could say I’ve developed a few basic Photoshop skills. This project has really opened up many different options I hadn’t really thought about with what I could do within the Ceramics discipline. It’s nudged me to get a bit more creative on the graphics side of things and tying two areas of Art and Design together.

*UPDATE* my ceramics pieces have finished in their decal firing! EEEK! It worked!

IMG_1080

IMG_1066

Watching for the cone to go down. For this particular decal firing, I wanted to turn the kiln off at 825 degrees.

IMG_1073

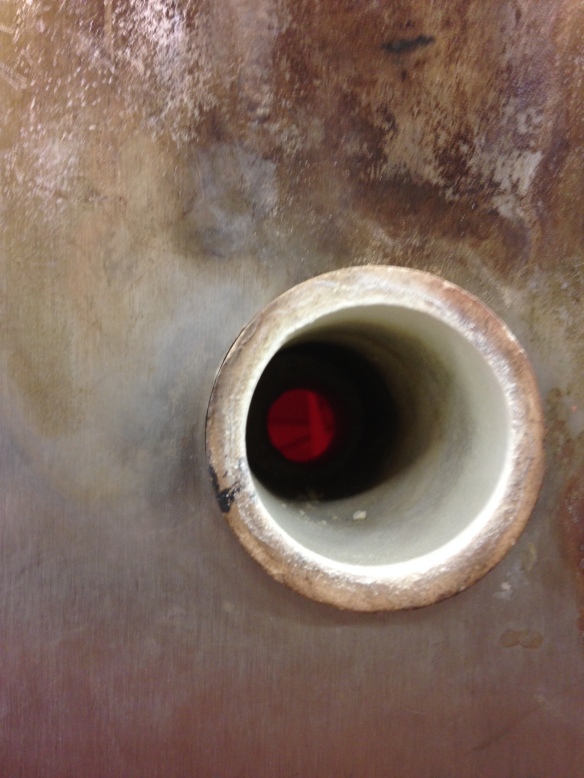
SO the kiln read 800 degrees, and I couldn’t make out where the cone was.. After looking through the peep hole very carefully (making sure I used goggles and gloves), I decided that the cone had bent (the cone would bend at 828 degrees and ideally I wanted it to bend halfway, and that would indicate 825 degrees); I could very slightly see a glowing white curve, which could only really be the cone. I turned the kiln off at 810 degrees.

IMG_1081IMG_1082


Fo[u]r Rooms: Making progress Pictures

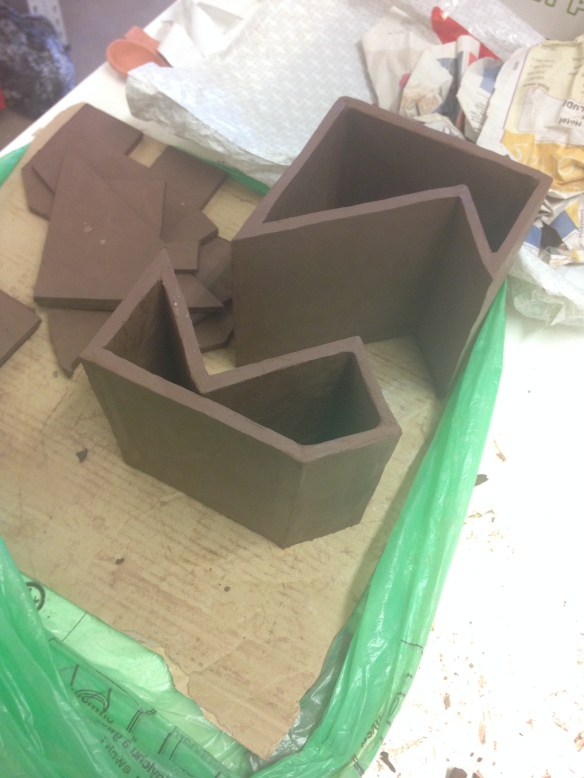
Here are a collection of images showing the progress I’ve made over the past week in making processes. Slab building has taken me a lot longer than anticipated, so I have had to come in on weekends to do a bit here and there. Surprisingly, slip casting isn;t taking as long as I imagined it would. I think the longest part is actually making the moulds. Once they’re done the whole process is relatively quick, bearing in mind I have other things to do whilst the slip casting are drying.

spoon cast

The video I made of our making processes shows the stages involved in slip casting.

IMG_0865IMG_0870

IMG_0927

I’m really grateful Jess (on my Ceramics course) had an earthenware glazing firing on Monday. She had a bit of space in her top loader: just enough to place my spoons in and my maquette of the centre piece (pictured below). I’m really happy with the white and red finish and looking forward to doing this on my actual larger piece.


IMG_0928IMG_0744IMG_0745IMG_0747IMG_0777IMG_0858IMG_0867